Add your first order
At this point, you have added all the information you need. Adding, editing, and reviewing orders are the most common tasks that trucking companies complete on a daily basis. Here, we only cover the basics to get you started. Please review this page for more in-depth explanations about the management of orders.While saving a new order, OneTruck will make sure that a truck, trailer, or driver is not planned on more than one order at a given time.
To open the `Orders` section, open the drawer menu by clicking on the menu icon on your screen`s top-left corner and selecting the `Orders` section.
If you are not an admin user and don't see the "Orders" section, you don't have permission to access this section.
OneTruck allows you to add orders in multiple different ways. Here, for educational purposes, we add an order manually. However, there are other easier and faster ways to accomplish this task.
 Below the date, you have 4 dropdowns to select the related customer, truck, driver, and trailer. The customer is required for every order. However, for the truck, driver, and trailer, you can either select an existing entry or add a custom value.
 The “custom” values are meant for cases where the truck, driver, or trailer (or all of them) are not part of your organization. The most common use-case of these custom values is the use of trailers provided by other organizations.
When you select a driver for a order, the duration of the order (minus the pause) is automatically calculated against the driver's working hours.
Please note that when you enter a custom driver (even if the name is the same as one of your drivers), the duration of the order won't be counted against their monthly salary.
To add a stop, click on the “Add a stop” button. The newly added stop requires a start, end, stop type, and address. Please add two stops. The first stop is to load at 10:00 and the second to unload at 13:00. Please add a random address.
 Once all the necessary fields are filled, click on the “Save” button at the bottom of the page. If all the data is entered correctly, you will be redirected to the 'orders' pages.
With the addition of the new order, the page is split into two columns. The left column displays a list of the entered orders and the right column displays the details of the newly added orders.
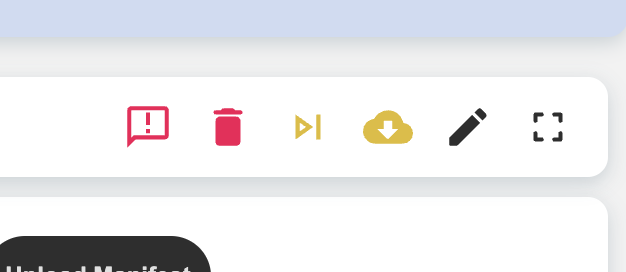
At the top of the right column, there is a button with the <img src='/static/landing/guide/download.svg' height={20} alt='' /> icon. By clicking this button, you will download an assignment PDF file, containing the details of the order that can be sent to the driver to complete the order. This file is generated every time with the newest version of data and you can download the file as many times as you wish.
Once all the necessary fields are filled, click on the “Save” button at the bottom of the page. If all the data is entered correctly, you will be redirected to the 'orders' pages.
With the addition of the new order, the page is split into two columns. The left column displays a list of the entered orders and the right column displays the details of the newly added orders.
At the top of the right column, there is a button with the <img src='/static/landing/guide/download.svg' height={20} alt='' /> icon. By clicking this button, you will download an assignment PDF file, containing the details of the order that can be sent to the driver to complete the order. This file is generated every time with the newest version of data and you can download the file as many times as you wish.Last updated at
December 24, 2022
OneTruck.io
All Rights Reserved - Vieolo OÜ